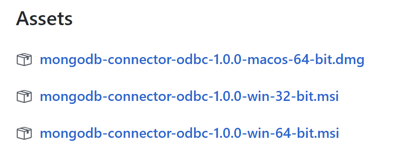
Just Released: MongoDB ODBC Driver
Earlier this month, we released the new ODBC driver for the MongoDB Connector for Business Intelligence (BI Connector). This driver makes it incredibly simple to connect to MongoDB data using analytics tools such as Microsoft Excel, Qlik, Microstrategy Desktop, Tableau Desktop, and PowerBI. But before diving into specifics of the driver, it will be helpful to review some information about the BI Connector, how it functions, and what use cases it is intended to serve.
MongoDB Connector for Business Intelligence
The MongoDB BI Connector provides access to MongoDB data by abstracting rich, hierarchical document structure and presenting it as a tabular, relational schema via a MySQL interface. The BI Connector acts as a SQL proxy and converts incoming SQL queries to equivalent MongoDB Query Language (MQL). Results are then returned in a standard tabular format and can be consumed by any application that supports direct connection to MySQL.
Of course, there are many applications -- used primarily by analysts and other business users -- which do not support direct MySQL connections and therefore, rely on ODBC to gain access to external SQL data sources. These ODBC connections are managed by underlying drivers that handle communication and the transfer of data between client applications and a defined data source.
A new ODBC driver?
Given that the BI Connector provides a MySQL interface we have been asked why not just utilize the existing MySQL, or similar, ODBC drivers? There are a few reasons for this but our primary motivation was to improve the end-user experience by making installation and set up simple and easy.
Prior to the release of our ODBC driver, setting up a connection to the BI Connector using the MySQL ODBC driver involved multiple steps, and several different software components. As a result, the process was error-prone and did not represent an ideal user experience. To address this, we bundled all components together into a simple click-through install process on both Mac OSX and Windows 7/10.
Now, within just a few seconds, users can configure their applications to access MongoDB as an available data source.
Installing the Driver and Importing MongoDB Data into Excel
Installing the ODBC driver on both Mac and Windows is quick and simple. If you are using Windows, you should install the driver that matches the architecture of your application. For example, if you are running a 32bit version of Excel, install the 32bit ODBC driver. Likewise, the 64bit version of PowerBI requires the 64bit ODBC driver. If you are running a mix of both 32bit and 64bit applications, there is no problem with installing both driver versions. On Mac OSX, the ODBC driver 64-bit.
In this post, we’ll walk through installation and setup of an ODBC connection on Windows 10 running the 32bit version of Excel.
First, download the MongoDB ODBC driver here. Make sure to download the driver that matches your version of Excel. In our case, we’ll select the 32bit version of the ODBC driver.
Once downloaded, double click the .msi file to begin.
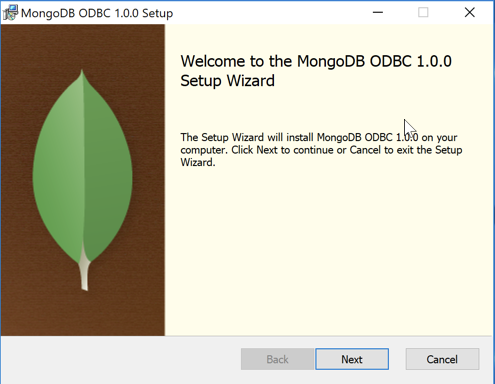
Accept the license agreement and click through a few options. When the installation is complete, click “Finish.” Now that the driver is installed, we can set up our Data Source Name (DSN) using the MongoDB ODBC driver.
To do this, open the “ODBC Data Source Administrator (32-bit)” application.
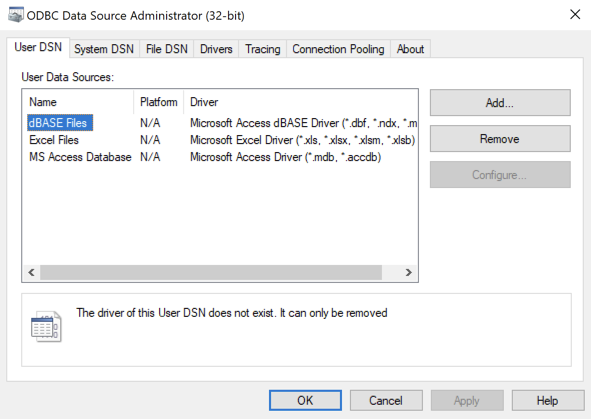
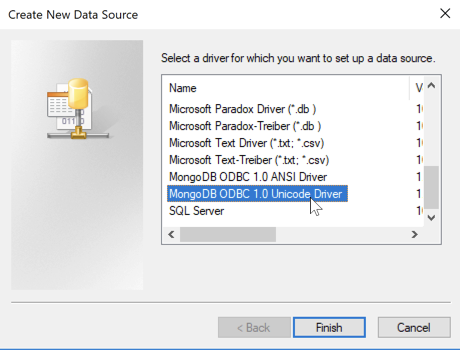
Click “Add” to set up a new DSN. You will be presented with a list of available drivers. Select the MongoDB ODBC 1.0 Unicode Driver. We encourage all users to select the unicode driver unless there is a specific need to use the ANSI driver.
Once you click “Finish” you will be prompted to input information to connect to MongoDB via the BI Connector.
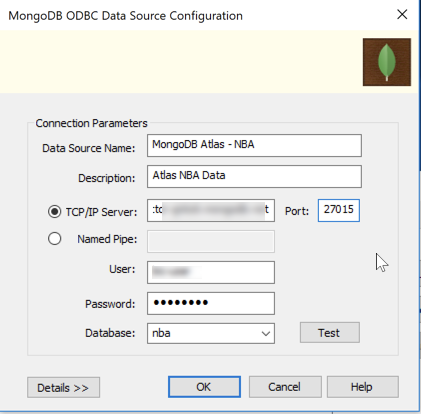
Input both a name and description for your datasource. In this example, we are connecting to an instance of BI Connector running in the MongoDB Atlas database service and will be working with data from the “nba” database. In the server and port fields, input the address and port number for the BI Connector. Add your MongoDB username and password and database. Once these values are input, click “OK.” This DSN will now be available to Excel, and other apps that support ODBC.
To import data into Excel, open a new workbook. Click on the Data tab. Now select Get Data → From Other Sources → From ODBC. Once selected you will be prompted to choose a DSN.
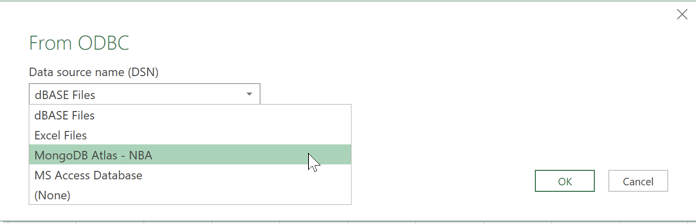
We will select the newly created DSN - “MongoDB Atlas - NBA” and click OK. If you are prompted to input username and password credentials, do so and click Connect. Excel will then present you with a database and table listing where you can select the data you want to import.
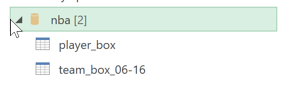
For this demo we’ll select historical National Basketball Association statistics. Specifically, player box score data for the past 20+ years.
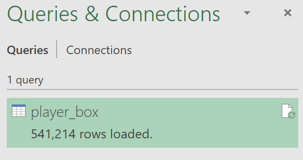
Once selected, we click “Load” to return the data to Excel. After a moment we can see that Excel has loaded in just over 500k rows into our worksheet - from MongoDB.
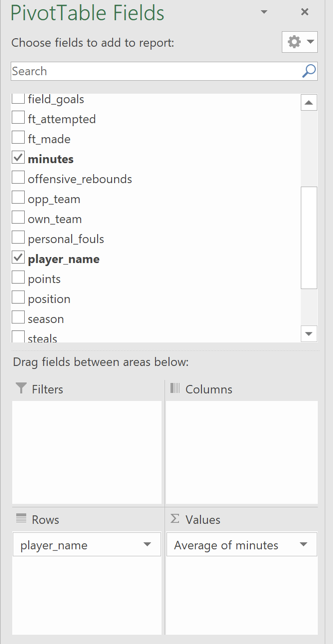
And now that the data is in Excel, we can create Pivot Tables and Charts, or apply conditional formatting rules to perform an analysis of the data. For example, we want to find out which NBA player averaged the most minutes played per game. This is very easy to do, using a Pivot Table. Each row in our dataset represents the stats for a single player during a specific game. So, in our Pivot Table we set player names as rows, and the average of minutes as our values.
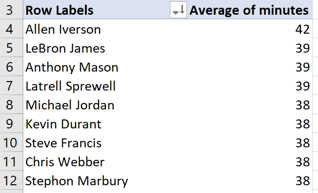
With this Pivot Table in place, we sort by average minutes and can see that Allen Iverson played the highest average minutes at 42. Lebron James, Anthony Mason, and Latrell Sprewell averaged 39 minutes followed by several players -- including Michael Jordan and Kevin Durant -- at 38 minutes.
Conclusion
If you would like to try the new ODBC driver to perform analytics with data in MongoDB, you can sign up for a free Atlas account by visiting this page. There you can claim $100 worth of free Atlas credits and be up and running with the BI Connector and MongoDB within a few minutes.
NOTE: The BI Connector is only available on Atlas M10 instances and above.